How to measure for replacement granite countertops
A Comprehensive Guide to Measuring for Granite Countertops: Achieving Accuracy and Efficiency
Granite countertops are a popular choice for kitchen and bathroom renovations, adding a touch of natural beauty and durability to any space. One of the crucial steps in the process of installing new countertops is obtaining accurate measurements. Whether you’re embarking on a kitchen remodel, building a new home, or simply upgrading your existing countertops, precise measurements ensure a seamless and aesthetically pleasing installation. In this comprehensive guide, we’ll walk you through the step-by-step process of measuring for granite countertops, covering essential tools, techniques, and common pitfalls to avoid.
- Gather the Necessary Tools
Before diving into the measuring process, it’s essential to have the right tools at your disposal. Here’s a list of tools you’ll need:
-
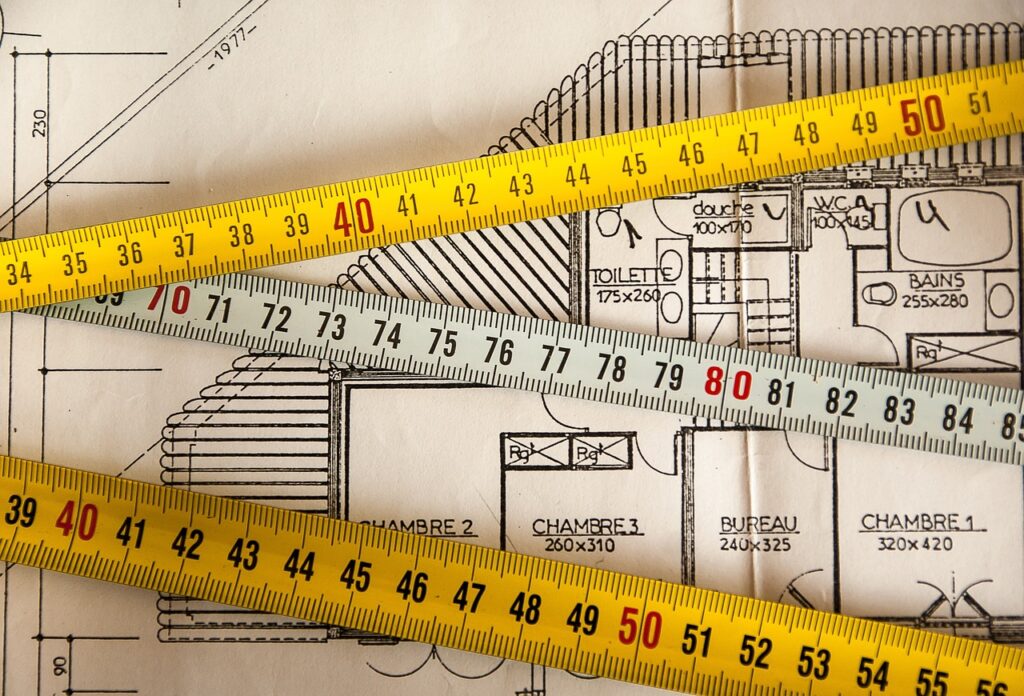
Tape Measure: A high-quality tape measure is the cornerstone of accurate measurements. Ensure it’s long enough to measure the entire length of your countertops and consider having both metric and imperial measurements for flexibility.
-
Graph Paper: Use graph paper to sketch the layout of your kitchen or bathroom, providing a visual aid for precise measurements and planning.
-
Utility Knife: A utility knife comes in handy for trimming excess materials and ensuring a clean and precise finish.
- Start with the Basics: Length and Width
The first step in measuring for granite countertops is determining the length and width of each section where the countertop will be installed. Measure from the edge of the countertop area to the opposite corner, ensuring you capture the full extent of the space. Record these measurements on your graph paper.
When measuring, be aware of any kitchen islands, sinks, or other features that will affect the countertop layout. Take separate measurements for each section to accommodate variations in dimensions.
- Consider the Shape of Your Countertops
Granite countertops come in various shapes, and it’s crucial to accurately measure each section. Whether your countertop has a standard rectangular shape or includes intricate corners, documenting the shape ensures that you order the correct amount of granite.
- Height and Backsplash Measurements
Determine the height of the backsplash by measuring from the countertop surface to the desired height on the wall. Note any variations in the wall that may affect the backsplash, such as outlets or switches.
- Check for Overhangs
Granite countertops often feature overhangs, providing a stylish design element. Measure the overhang from the front edge of the countertop to ensure it aligns with your preferences and kitchen design. A common overhang is 1.5 inches, but it’s essential to confirm this with your stone fabricator.
- Measure Linear Feet and Calculate Square Footage
To estimate the total square footage of your countertops, calculate the linear feet by adding the length measurements of each section. Multiply the total linear feet by the standard width of the countertop slab. This simple calculation provides an initial estimate of the square footage, helping you budget for your project.
Total Square Footage=Total Linear Feet×Standard Width of SlabTotal Square Footage=Total Linear Feet×Standard Width of Slab
Kitchen countertops are most commonly measured in square feet, the most accurate way to measure for your new countertop and kitchen island are to take the length of the countertop in inches and multiply by the width in inches. the next step is to convert the square inches into square feet. Here’s an example 125″ x 26″ = 3,250 square inches divided by 144 (convert to square feet) comes to 22.56 square feet. This method will ensure an accurate estimate for exactly how many square feet granite you will need. The other considerations to keep in mind is that quartz countertops and granite slab countertop materials come in a wide variety of sizes so it’s a good idea to check with the supplier / fabricator on the exact number of slabs you will need.
- Create a Layout Diagram
Transfer your measurements to a layout diagram on graph paper. This visual representation allows you to see how the countertops will fit into the space, identify potential challenges, and make adjustments as needed.
- Verify Accuracy and Make Adjustments
Review your measurements to ensure accuracy. Check for any irregularities, such as uneven walls or discrepancies in the countertop shape. It’s better to identify and address these issues early in the process to avoid costly mistakes during fabrication.
- Measure Existing Countertops (if applicable)
If you’re replacing existing countertops, measure the old countertops carefully. Note any changes you want to make, such as extending the length or changing the shape. This step ensures that your new countertops meet your specific requirements.
- Factor in Additional Costs
While accurate measurements are crucial, it’s equally important to consider additional costs associated with the countertop project. Labor costs, edge style preferences, and the choice of undermount sinks or backsplash materials can impact the overall budget. Consult with your granite fabricator to get a comprehensive understanding of the costs involved.
- Consult with a Trained Technician
If you’re uncertain about any aspect of the measuring process or want professional advice, consult with a trained technician or granite fabricator. Their expertise can guide you through potential challenges and help ensure the most accurate measurement for your project.
- Double-Check Your Measurements
Before finalizing your order, double-check all measurements. Confirm that you’ve accounted for the backsplash, overhangs, and any additional features. Small oversights can lead to costly mistakes during the fabrication process.
Conclusion
Measuring for granite countertops is a crucial step in ensuring a successful and visually appealing kitchen or bathroom upgrade. By following these steps and utilizing the necessary tools, you can obtain accurate measurements, avoid common pitfalls, and collaborate effectively with your stone fabricator. Remember that consulting with professionals and double-checking your measurements are key components of a smooth and successful countertop installation process. With the right approach, you’ll not only achieve a perfect fit but also enhance the overall aesthetic and functionality of your living spaces.
